Maintenance Tips For Reverse Osmosis Hot And Cold Bottleless Water Dispenser With Filter
Maintenance Tips For Reverse Osmosis Hot And Cold Bottleless Water Dispenser With Filter
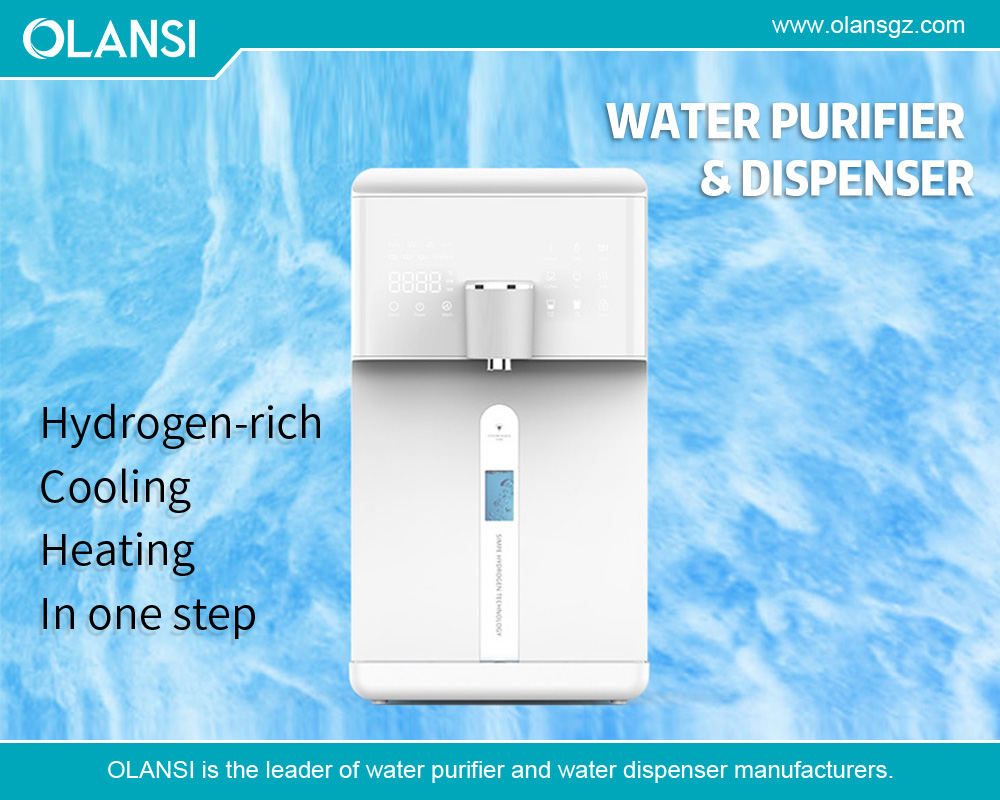
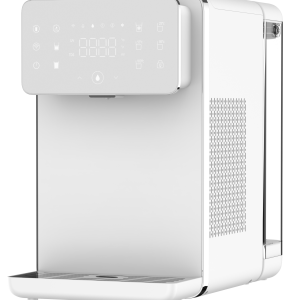
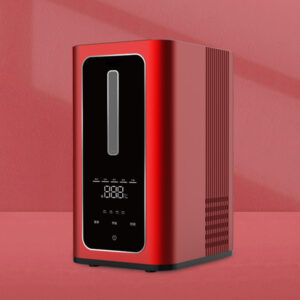
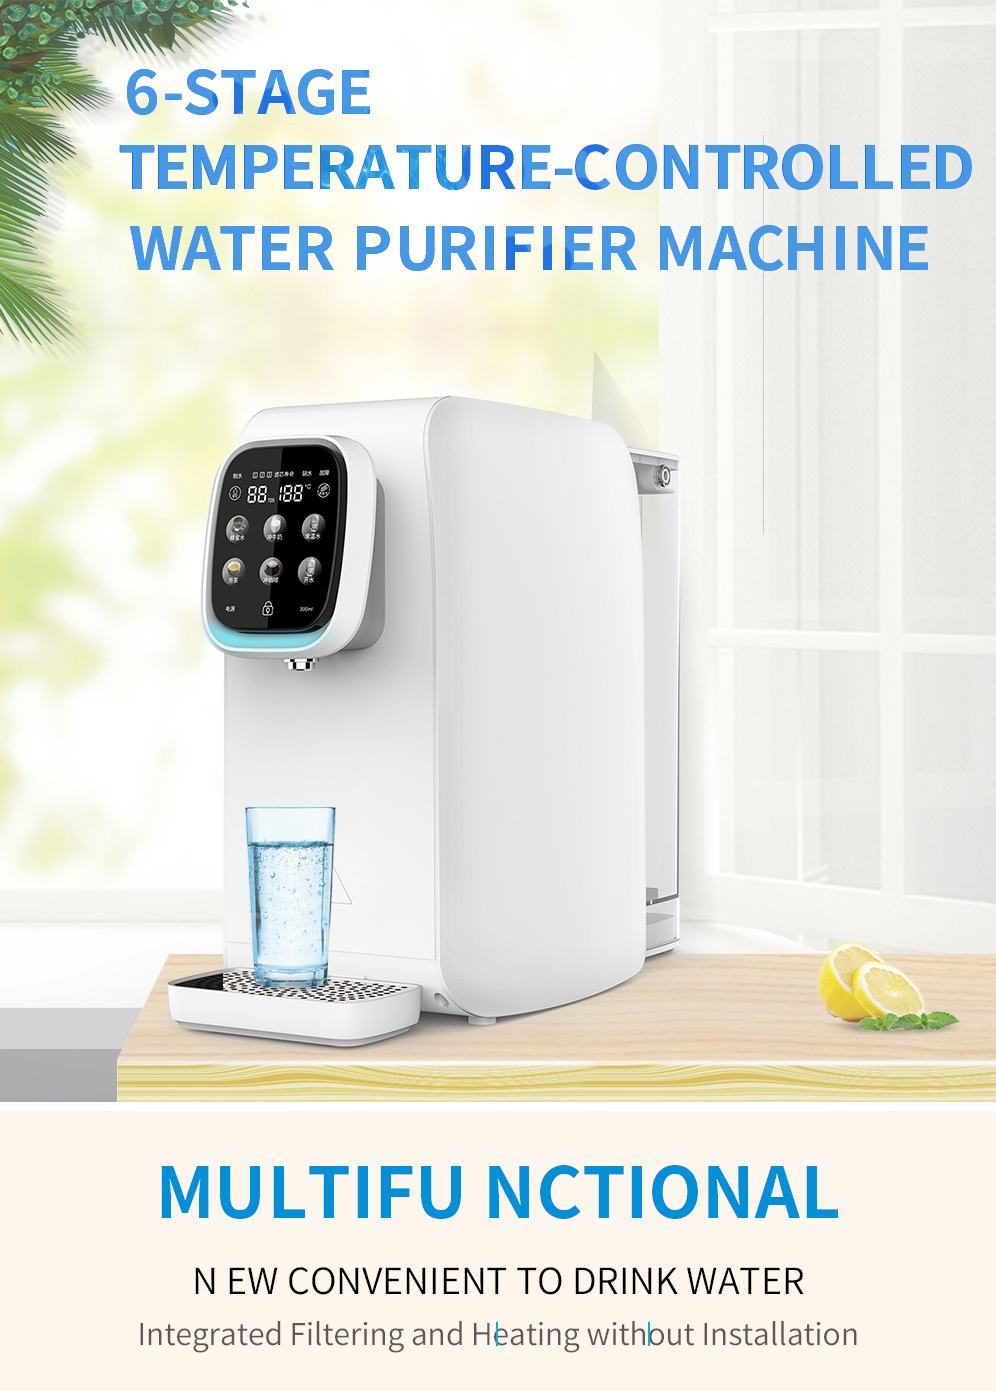
A reverse osmosis hot/cold bottleless water dispenser is a convenient and efficient way to have clean and refreshing water at your fingertips. Unlike traditional water dispensers that require bottles to be replaced, these bottleless dispensers are directly connected to your water supply and use a filtration system to purify the water. This means you never have to worry about running out of water or the hassle of replacing heavy bottles.
There are several benefits to using a water dispenser. Firstly, it provides you with instant access to both hot and cold water. This is especially useful for making hot beverages like tea or coffee, as well as for quickly quenching your thirst with a cold glass of water. Apart from filtering out the pollutants, that reverse osmosis system is a boon with regards to giving you crystal-clear purity.
It’s really reassuring for people who worry about the quality of their tap water–it not only safeguards them from any impurities and contaminants, but guarantees H2O that’s safe to nourish your body!
Importance of Regular Maintenance for Water Dispensers
Regular maintenance is crucial for ensuring the optimal performance and longevity of your water dispenser. Over time, mineral deposits, bacteria, and other impurities can build up in the system, affecting the taste and quality of the water. By performing regular maintenance tasks, you can prevent these issues and keep your dispenser in top condition.
One of the main benefits of regular maintenance is that it helps to maintain the cleanliness of the dispenser. By cleaning the exterior regularly, you can remove any dirt or grime that may accumulate over time. This not only keeps the dispenser looking clean and presentable but also prevents the growth of bacteria or mold.
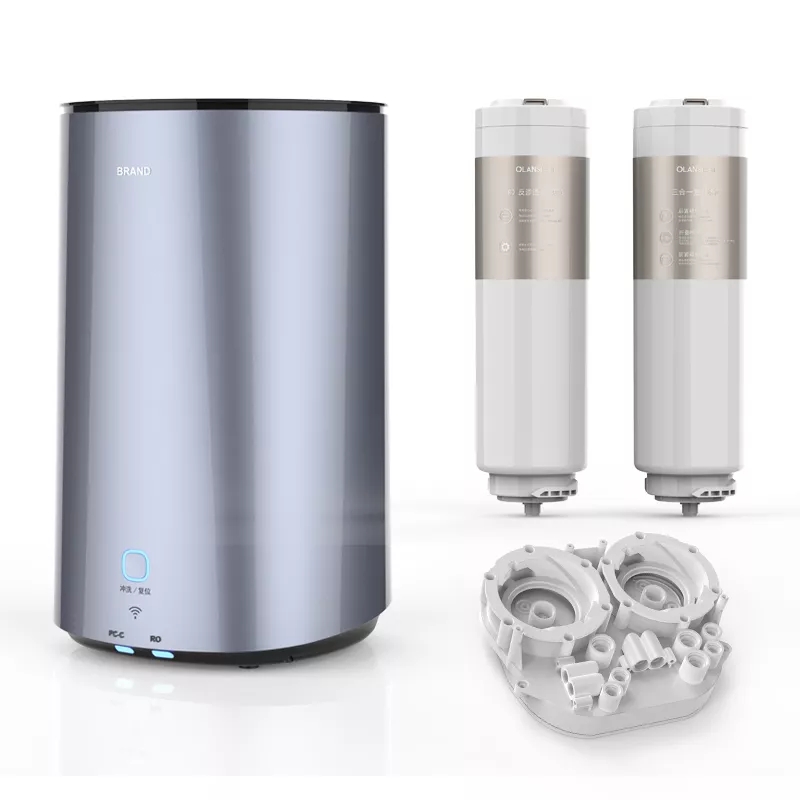
Regular maintenance also includes changing the water filters in the dispenser. These filters are responsible for removing impurities from the water, and over time, they can become clogged or less effective. By changing the filters at the recommended frequency, you can ensure that the water you consume is always clean and safe.
Cleaning the Exterior of the Water Dispenser
Unplug your water dispenser and clear off anything on top of it. Then grab a damp washcloth or sponge and go to town – scrubbing away any dusty stains with vigor! If you come across some areas that just won’t budge, don’t get frustrated; try a mild detergent or cleaning solution instead, then give the cloth or sponge a good rinse to remove any residue afterwards. Before you know it, your baby-smooth water dispenser surfaces will be completely free from yucky gunk!
For stainless steel dispensers, use polish or stainless steel cleaner for restoring shine and remove fingerprints. Simply apply the cleaner to a soft cloth and wipe down the stainless steel surfaces, following the grain of the metal. Be sure to read and follow the instructions on the cleaner for best results.
It is important to note that you should never use abrasive cleaners or scrub brushes on the exterior of your water dispenser, as this can damage the finish. Additionally, avoid using bleach or other harsh chemicals, as they can be harmful to both you and the dispenser.
Changing the Water Filters in the Dispenser
Water filters in a dispenser need to be changed regularly to ensure that the water you consume is clean and safe. Over time, these filters can become clogged with impurities and lose their effectiveness. The frequency at which you should change the filters will depend on the specific model of your dispenser and the quality of your water supply.
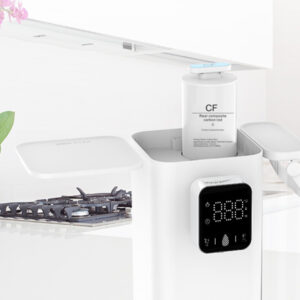
Make sure you cut off the water to your dispenser before you attempt to switch up those filters. You’ll be able to locate the valve at the very back of this bad boy, just give it a twist and you’re all set! Now, tracking down that filter housing shouldn’t be too difficult either – generally found towards the back or bottom of the unit.
Remove the filter housing by unscrewing it or following the manufacturer’s instructions. Take out the old filters and dispose of them properly. Before installing the new filters, be sure to rinse them with clean water to remove any loose particles or debris.
Insert the new filters into the housing, making sure they are properly aligned and seated. Screw the filter housing back onto the dispenser, ensuring it is tight and secure. Finally, turn the water supply back on and check for any leaks.
Flushing the Water Dispenser System
Flushing the water dispenser system is an important maintenance task that helps to remove any built-up impurities or bacteria. Over time, mineral deposits and other contaminants can accumulate in the system, affecting the taste and quality of the water. Flushing the system helps to remove these impurities and ensure that the water you consume is clean and refreshing.
To flush the water dispenser system, start by turning off the hot and cold water switches on the dispenser. This will prevent any water from flowing through the system during the flushing process. Next, locate the valve on your dispenser. This is usually located at the bottom or back of the unit.
Open the drain plug and allow the water to flow out of the system. You may need to place a container or bucket underneath to catch the water. Let the water run for a few minutes to ensure that all impurities are flushed out.
Once you are satisfied that the system has been thoroughly flushed, close valve or drain plug and turn on the hot and cold water switches. Allow the dispenser to run for a few minutes to ensure that any remaining impurities are flushed out of the system.
Checking the Water Pressure and Temperature
Checking the water pressure and temperature of your dispenser is an important maintenance task that ensures optimal performance and functionality. Low water pressure can affect the flow rate of the dispenser, while incorrect temperature settings can result in water that is either too hot or too cold.
To check the water pressure, start by turning off the hot and cold water switches on the dispenser. Next, locate the pressure gauge on your dispenser. This is usually located near the back or bottom of the unit. The pressure gauge will display the current water pressure in pounds per square inch (psi).
Compare the displayed pressure to the recommended range specified by the manufacturer. If the pressure is too low, you may need to adjust the water supply valve or contact a professional plumber to address any underlying issues.
To check the water temperature, turn on the hot and cold water switches and allow the dispenser to run for a few minutes. Fill a cup with hot water and measure the temperature using a thermometer. The hot water temperature should be within the range specified by the manufacturer. If the temperature is too high or too low, you may need to adjust the thermostat settings on your dispenser.
Final Thoughts on Maintaining Your Water Dispenser
In conclusion, regular maintenance is essential for keeping your reverse osmosis hot/cold bottleless water dispenser in optimal condition. By following the recommended maintenance tasks, such as cleaning the exterior, changing the water filters, flushing the system, checking water pressure and temperature, inspecting for leaks, and troubleshooting common issues, you can ensure that your dispenser provides you with clean and refreshing water for years to come.
For more about the maintenance tips for reverse osmosis hot and cold bottleless water dispenser with filter,you can pay a visit to Olansi at https://www.olansgz.com/product-category/water-dispenser/ for more info.


